
In our countdown to classes series here is number

So we all know that pressing is an important part of quilting and that, to perfect your technique, you need to develop a mutually- satisfying relationship with your iron.
Maybe you never owned an iron before you started quilting. Maybe you iron everything including the underwear. Maybe you have shunned ironing as the result of a bad experience when you had to iron 48 shirts in one day.
Whatever your experience, when you are quilting your iron needs to be performing at its peak to get you where you’re going. The irons of the quilting world serve us well but we often take advantage of them. I have left TWO irons on all day on more that one occasion – points for consistency but that’s it.
So here’s today’s task:
Give your iron the once over it deserves.
If your iron doesn’t have a self-cleaning function (can I get one of those for the house?) you’ll have to do it yourself. To start, give it a good clean with a damp cloth. That’s after you make sure it’s turned off of course.
If you’ve accidentally pressed the vlisoflex or some stabiliser on the wrong side and the sticky remains are still visible on the plate then now’s the time to give it a good clean with something more than water.

I’ve read that you can use methylated spirits for this but I just use the commercial iron cleaner you buy from the supermarket. By cleaning the plate you can ensure your next project doesn’t get ruined. Don’t take to it with harsh abrasives or steel wool. There’s no need to be violent. Follow the instructions on the pack and you can’t go wrong.
Now I’ve also read that you should clean the water tank with diluted vinegar. I just use distilled water all the time and don’t get the mineral deposits that require this sort of cleaning.
Don’t store your iron face down because it doesn’t like it. Make sure you leave it for 15 minutes to cool down before you put it away and don’t wrap the cord (if it’s got one) around the plate – wrap it around the base.

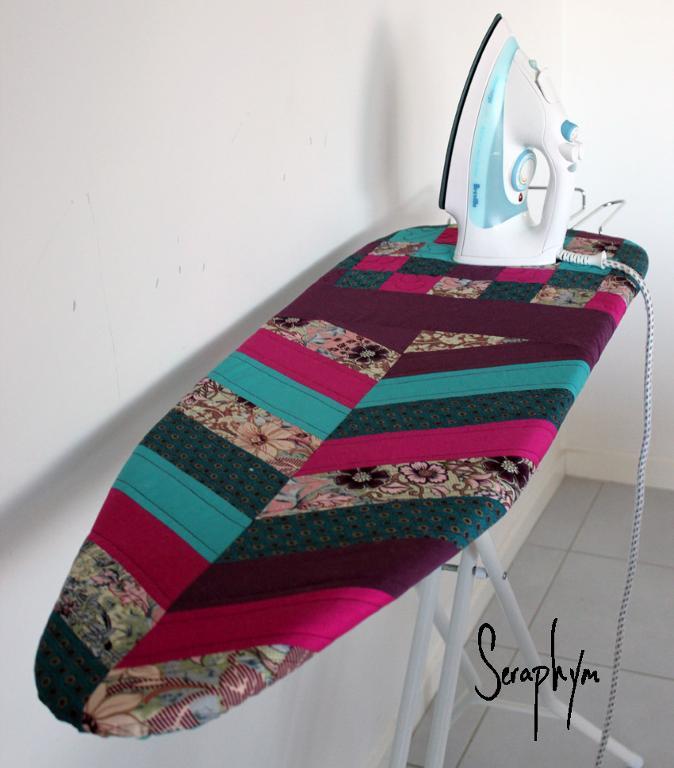
Now about the surface on which you iron – it should be tall enough that you don’t get back strain. Maybe you can use a portable board strategically placed between the cutting board and the sewing machine if you’re doing fiddly piecing and you don’t feel you could benefit from getting up every 30 seconds to walk to the ironing board because you’re already trim, taut and terrific…just a thought.
Maybe you could do as Ricky Timms suggests and make an ironing table out of plywood covered with batting and then heavy fabric stapled to the base. The blog sew many ways have a tutorial on how to build this one-

Or maybe you already improvise. Have you improvised? Do tell.
How to press is something that we cover in class. You’ll learn about the pros and cons of using steam and other things seemingly more sinister

For today we’re just looking after the equipment. Maybe you should take a before and after photo of your iron.
Until tomorrow
Kaye
If you’ve missed any of our countdown just click on the links here:
![]()
![]()
![]()
![]()
![]()
