Bag making in the tropics

Isaac Singer has a lot to answer for. Not for his bigamous private life that resulted in more than 20 children, but for his alterations to the mechanics of the sewing machine that resulted in his claim to fame – the Singer sewing machine – the forerunner of all the others we enjoy and curse today.

image

While Isaac didn’t invent the sewing machine, his improvements turned the machine from an expensive, industrial device to one that Isaac envisioned in every home. Does that remind you of the computer or maybe the mobile phone? Yes the antique treadly was the moby of its day.

image

Although they were expensive, Isaac and his business partner ensured that everyone could afford one of his machines because they utilised the installment system that had been used for purchasing farming equipment. So a small down payment and a few dollars a week meant they were very affordable. Remember this is before the personal loan or credit card. And so then they went global. Way to go Isaac.

As a result we quilters each have a machine. Maybe not a Singer but perhaps a Jerry Janome or maybe a Bernie Bernina. Whatever the livery I reckon it’s a fair bet that you don’t really know how to use it. Sure you can sew straight and maybe you can recognise the 1/4″ foot. Perhaps you’ve dabbled with the darning foot for free motion quilting and even tinkered with the occasional zigzag.

image

Ah yes the inoffensive zigzag, but have you ever used the twin needle that came in the little tool box that slides off the front of your appliance? What about the blind hem foot? And don’t even start on the stitch regulator. And who of us actually understands tension and how to regulate it? The actual sewing of the sewing machine looks quite a simple process…

So why is it so difficult to make ours work the way they are supposed to work? And how come we don’t even know about half the features? Fortunately there are those among us who do actually know about all the hidden secrets of the sewing machine – sewing machine whisperers if you will. Those who can speak the secret language of edge stitch feet and stitch regulators. Sometimes they will share their secrets.

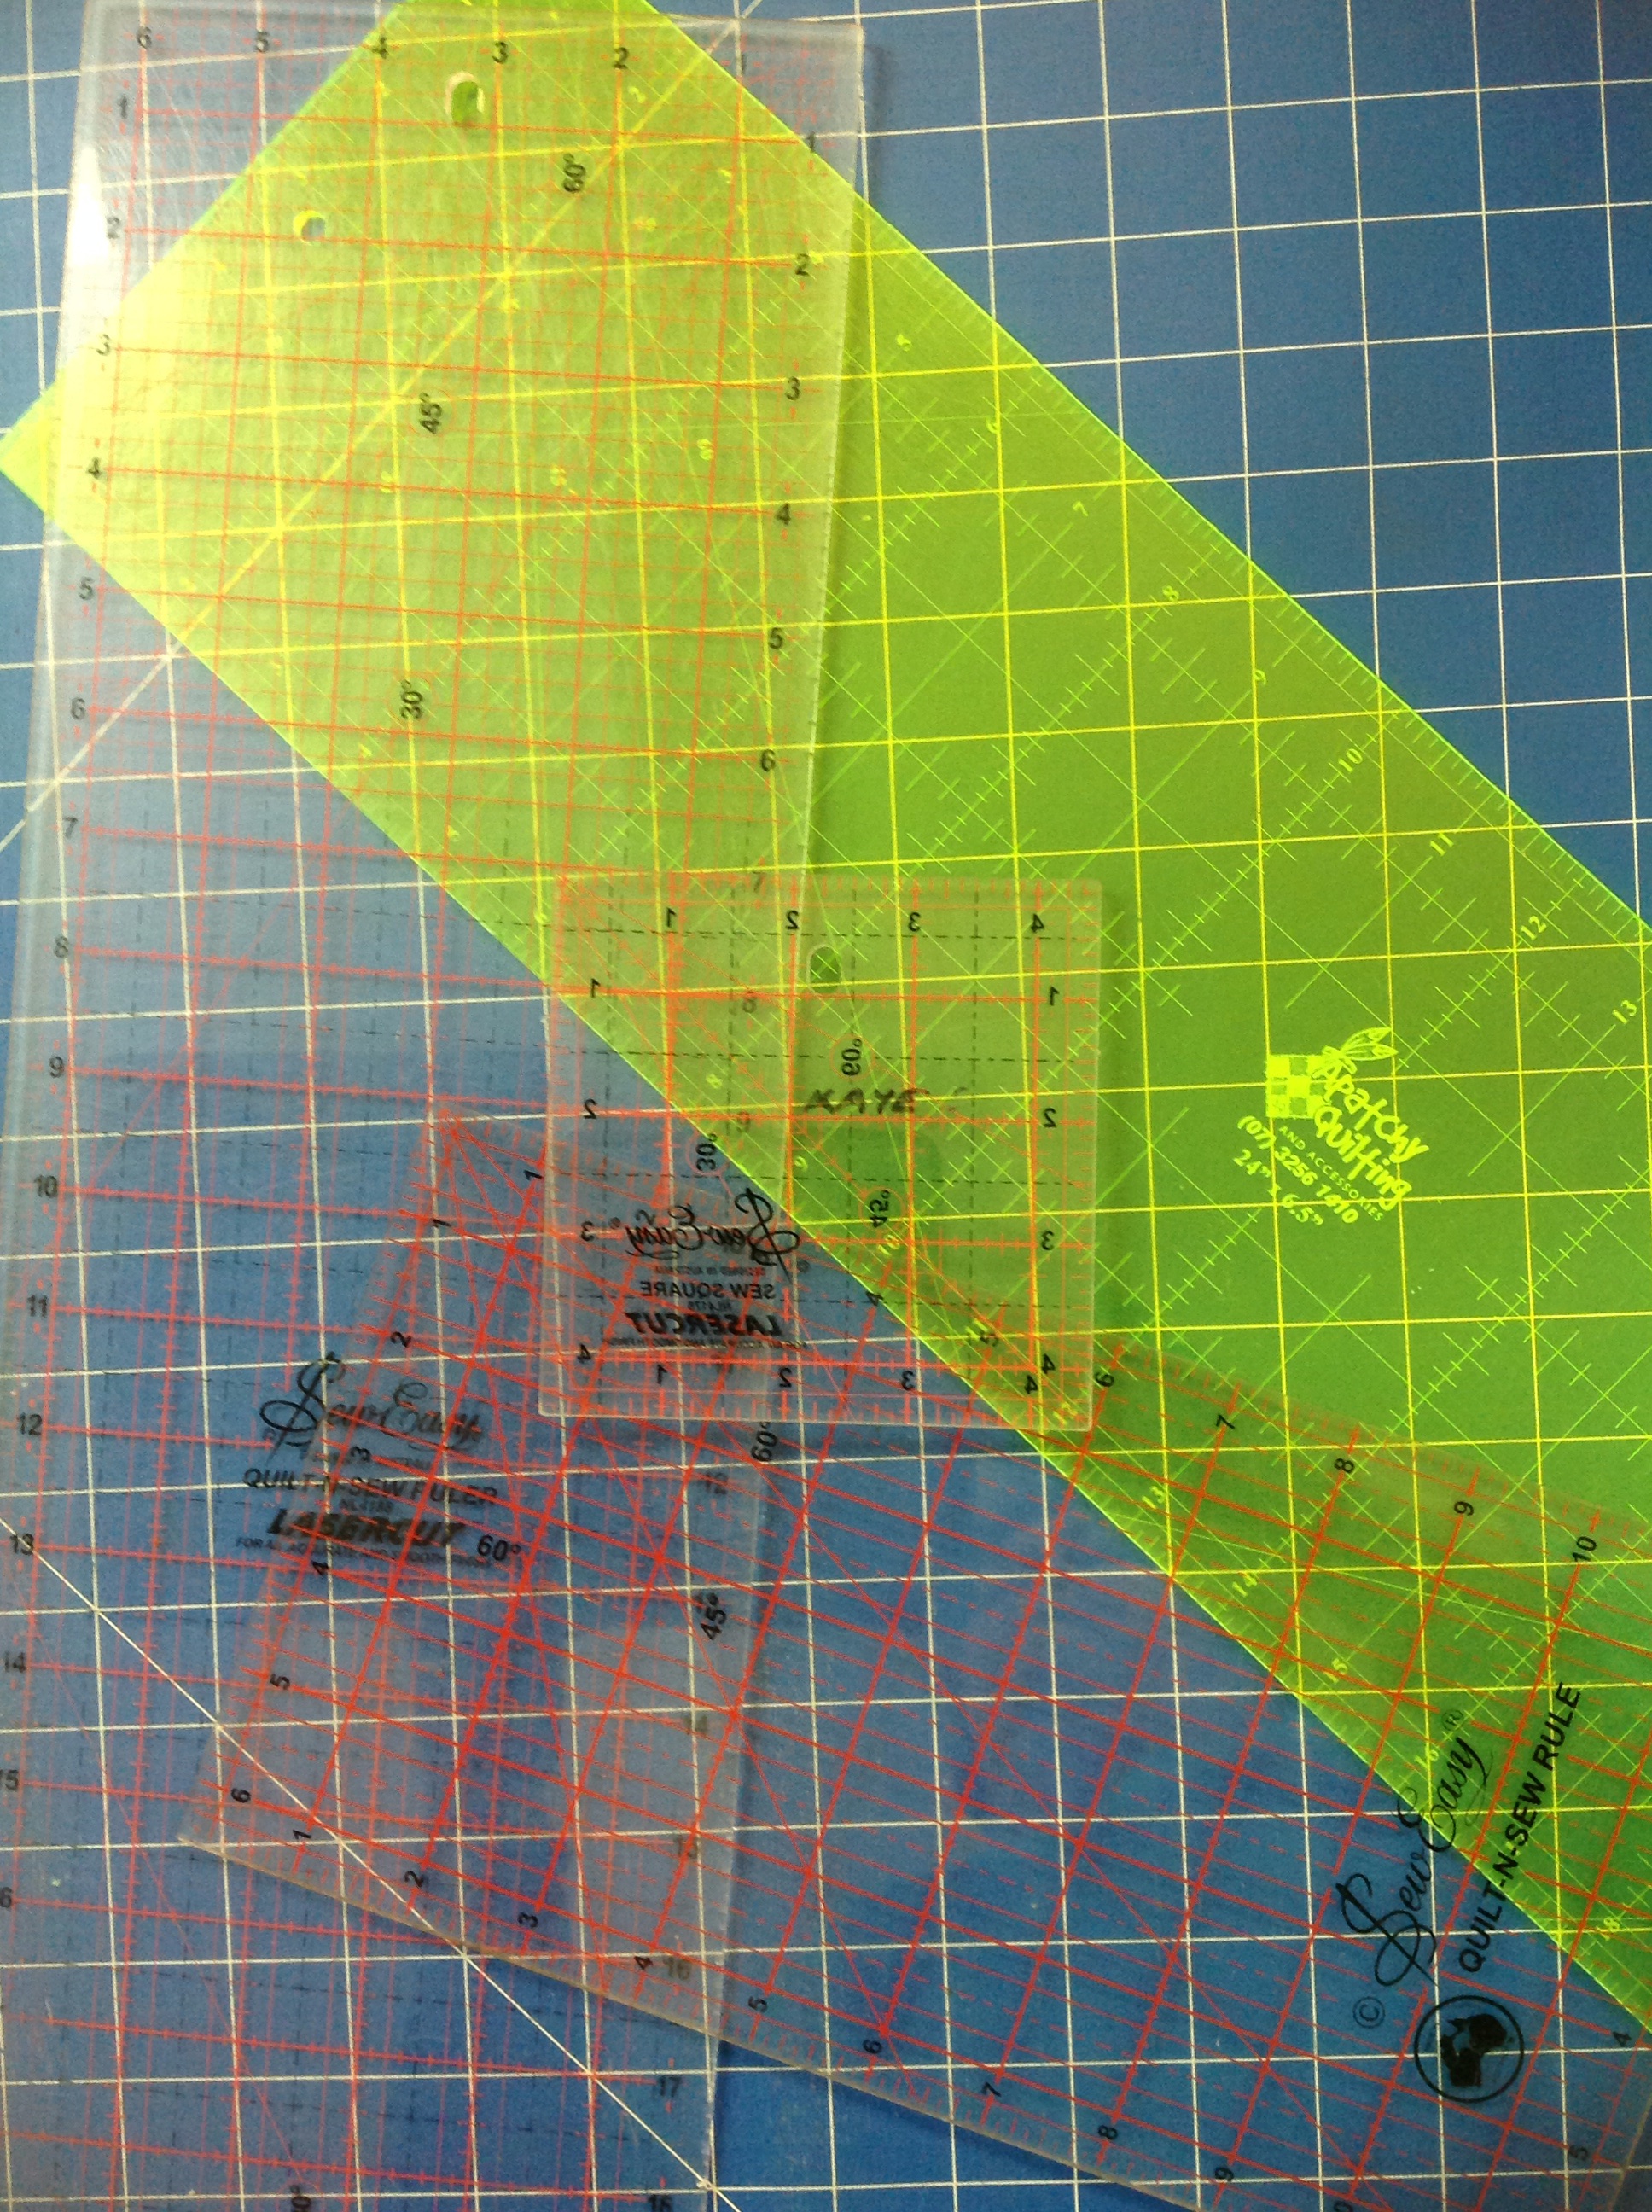
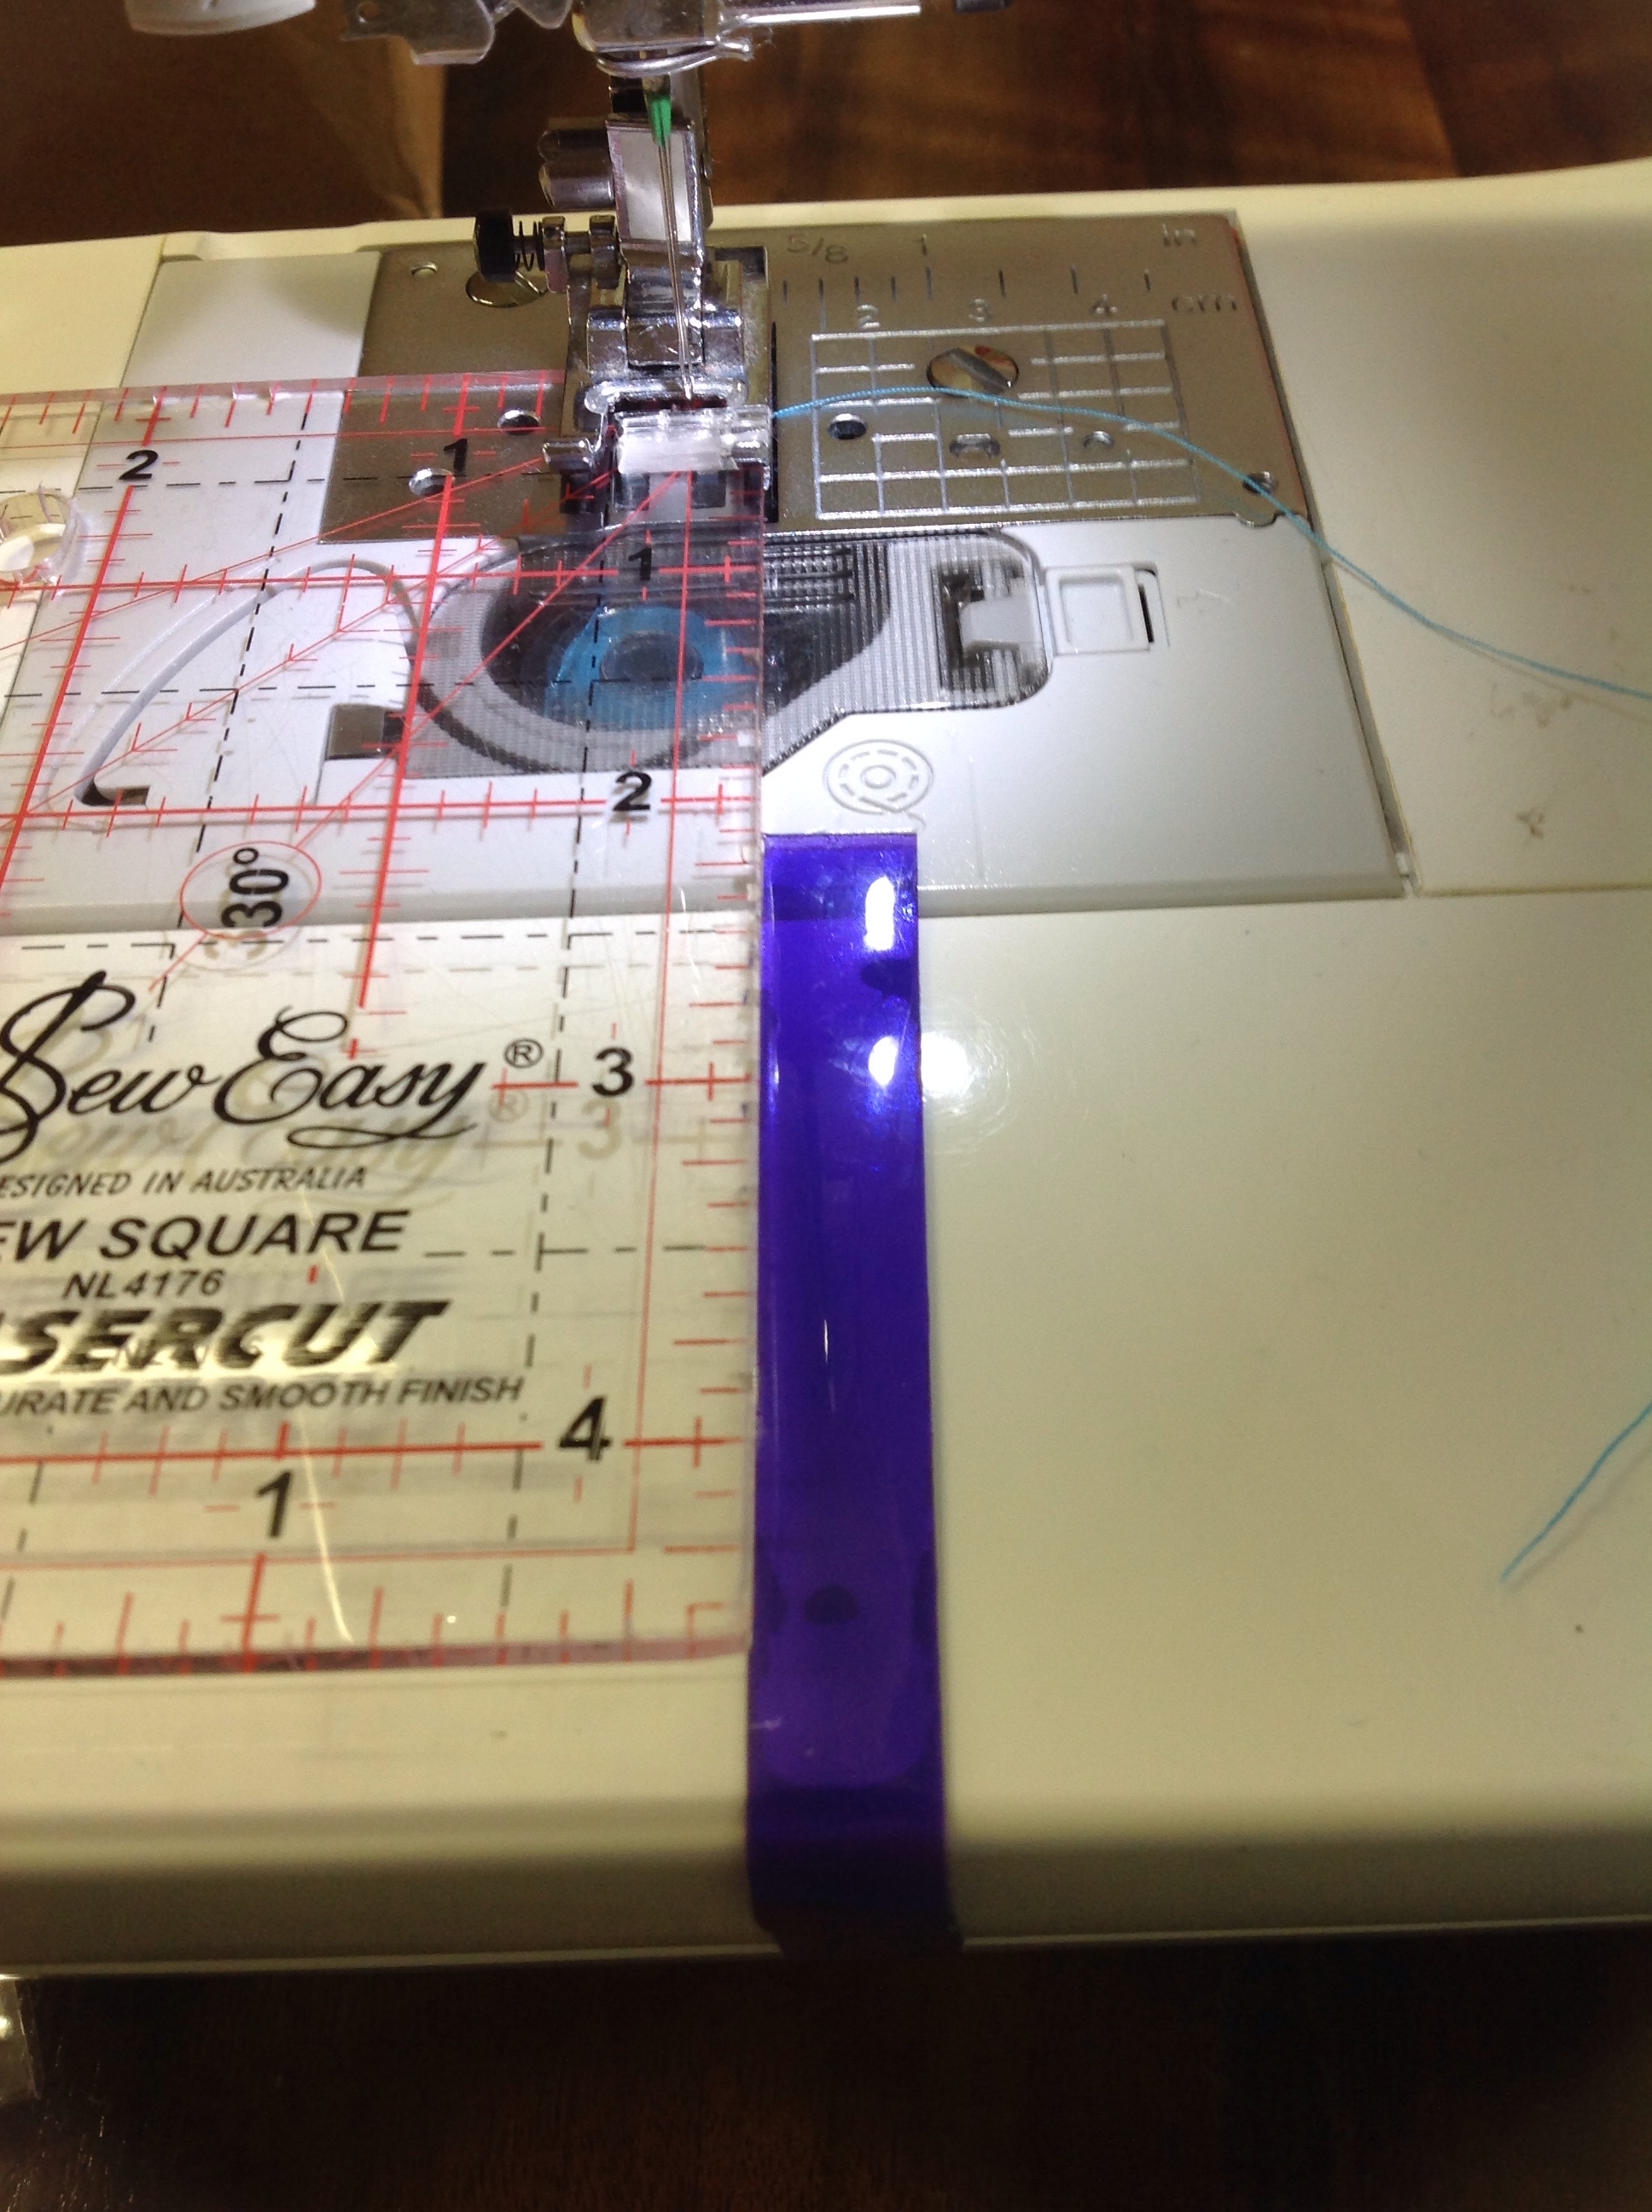
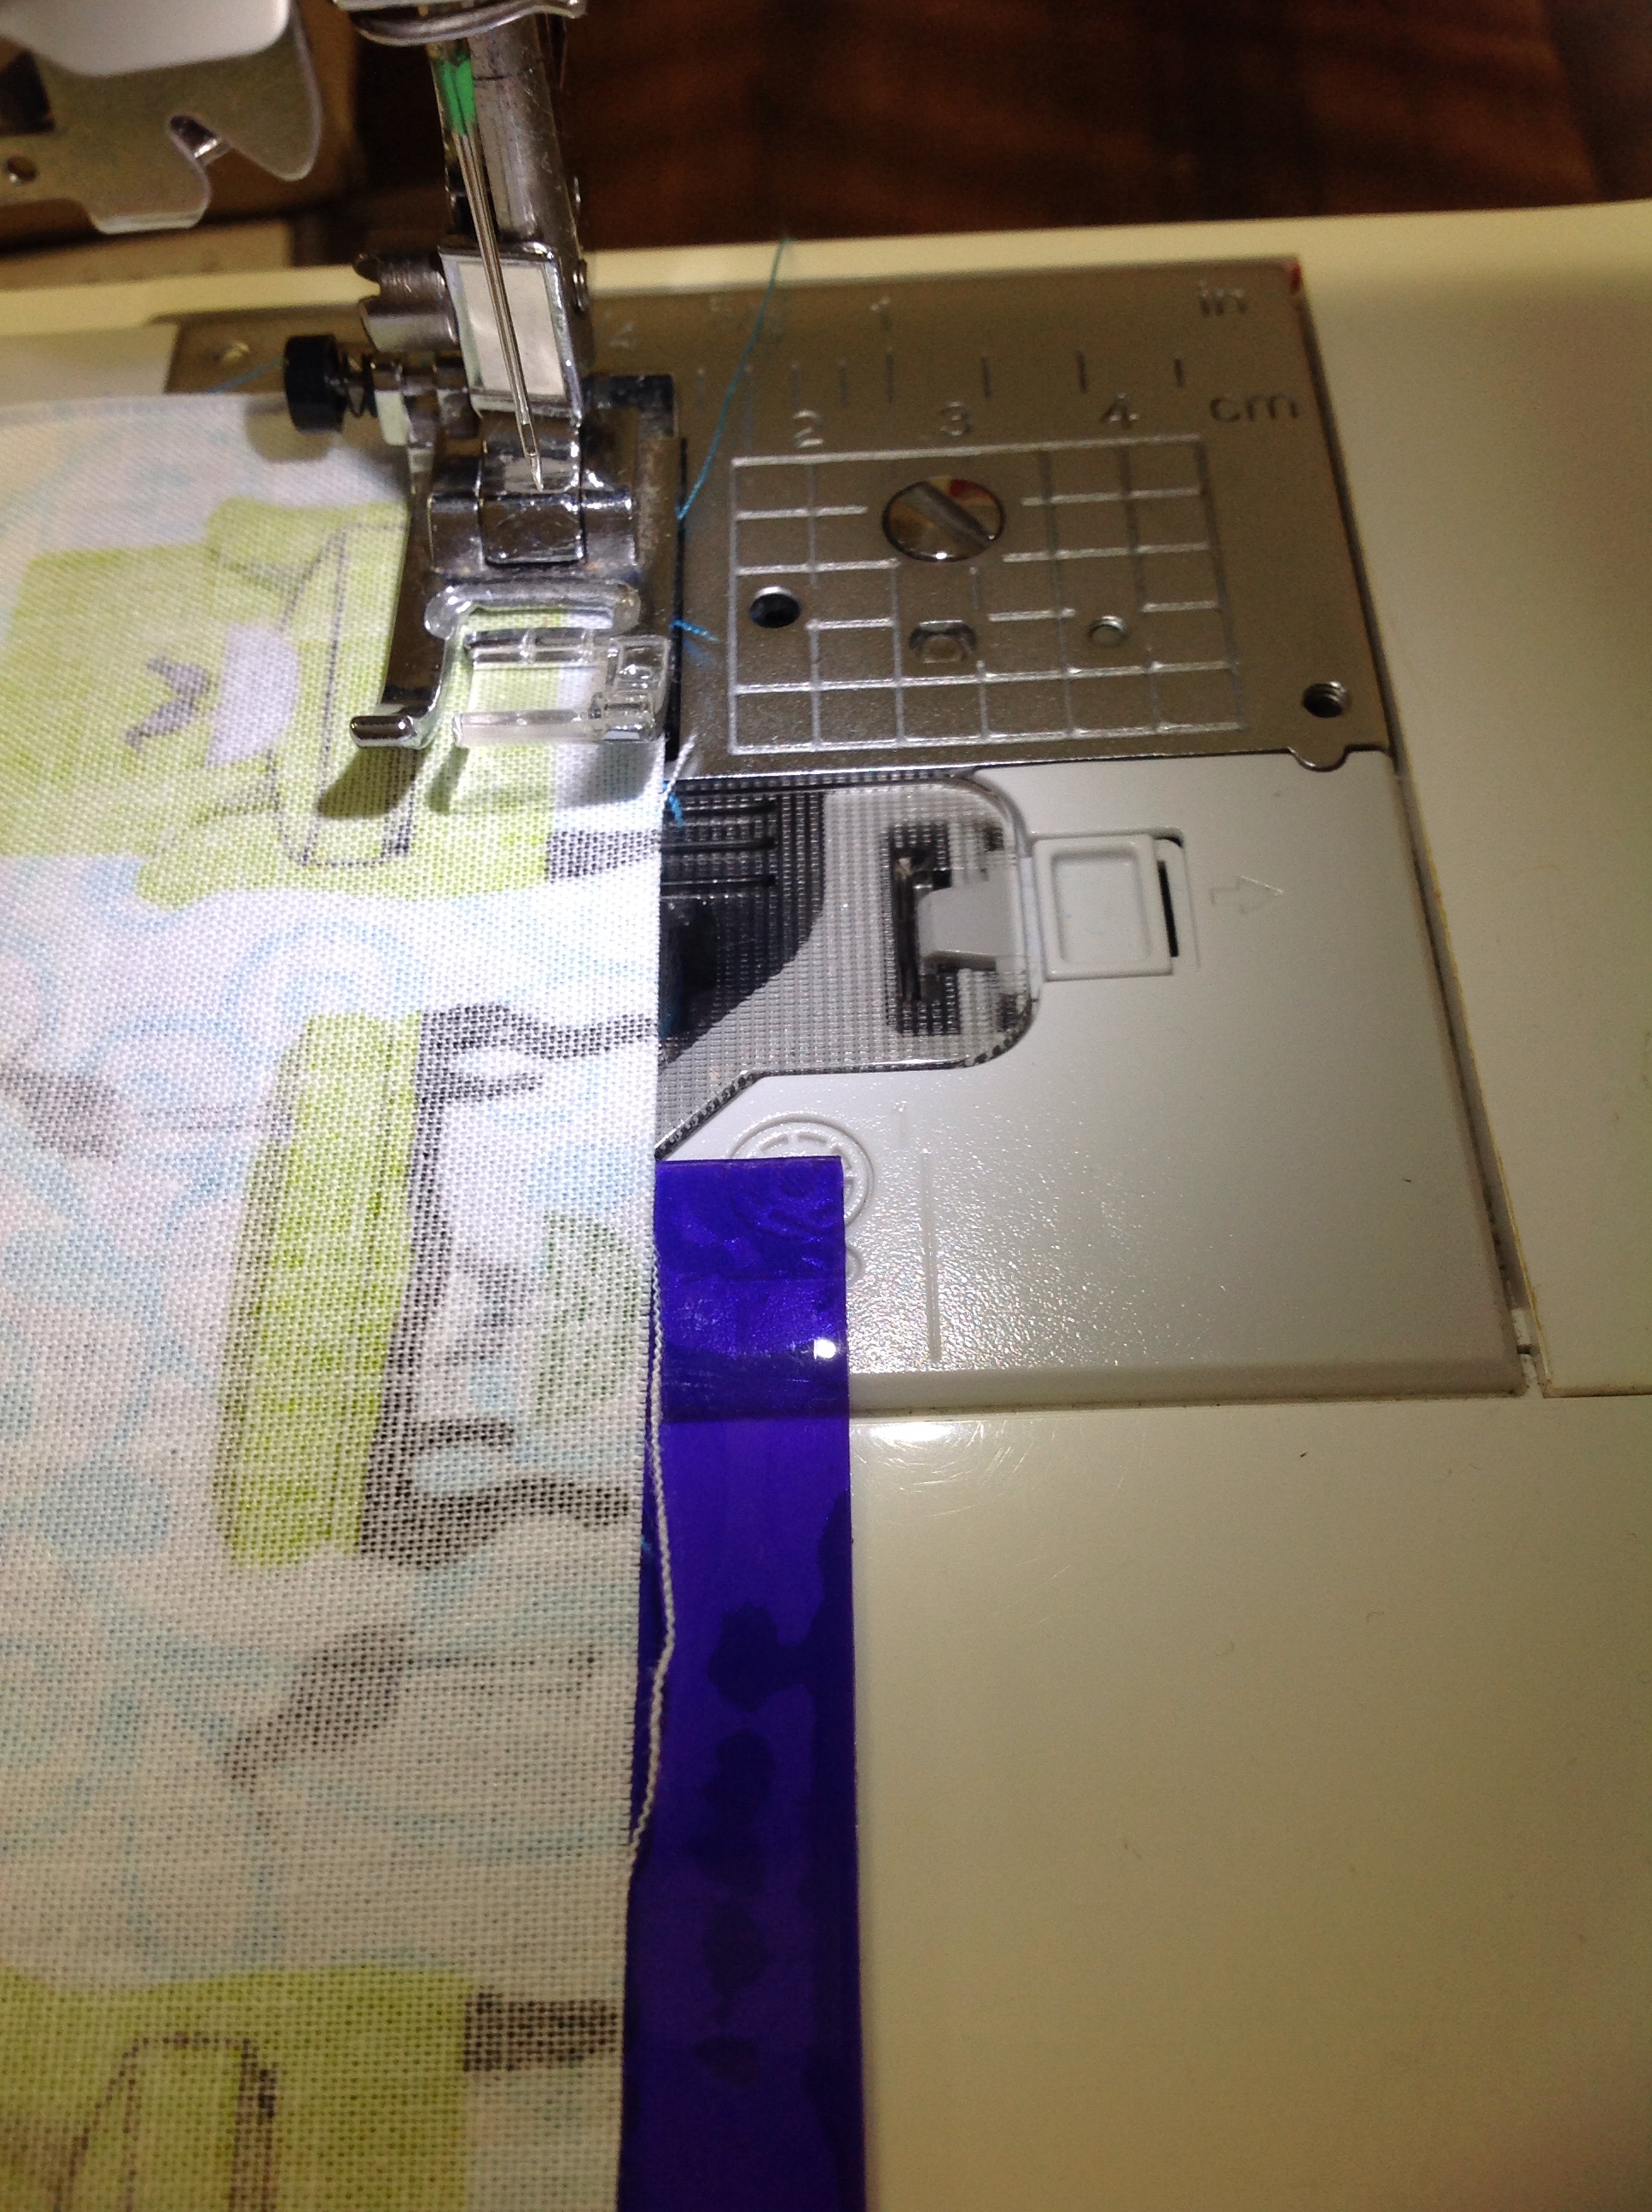
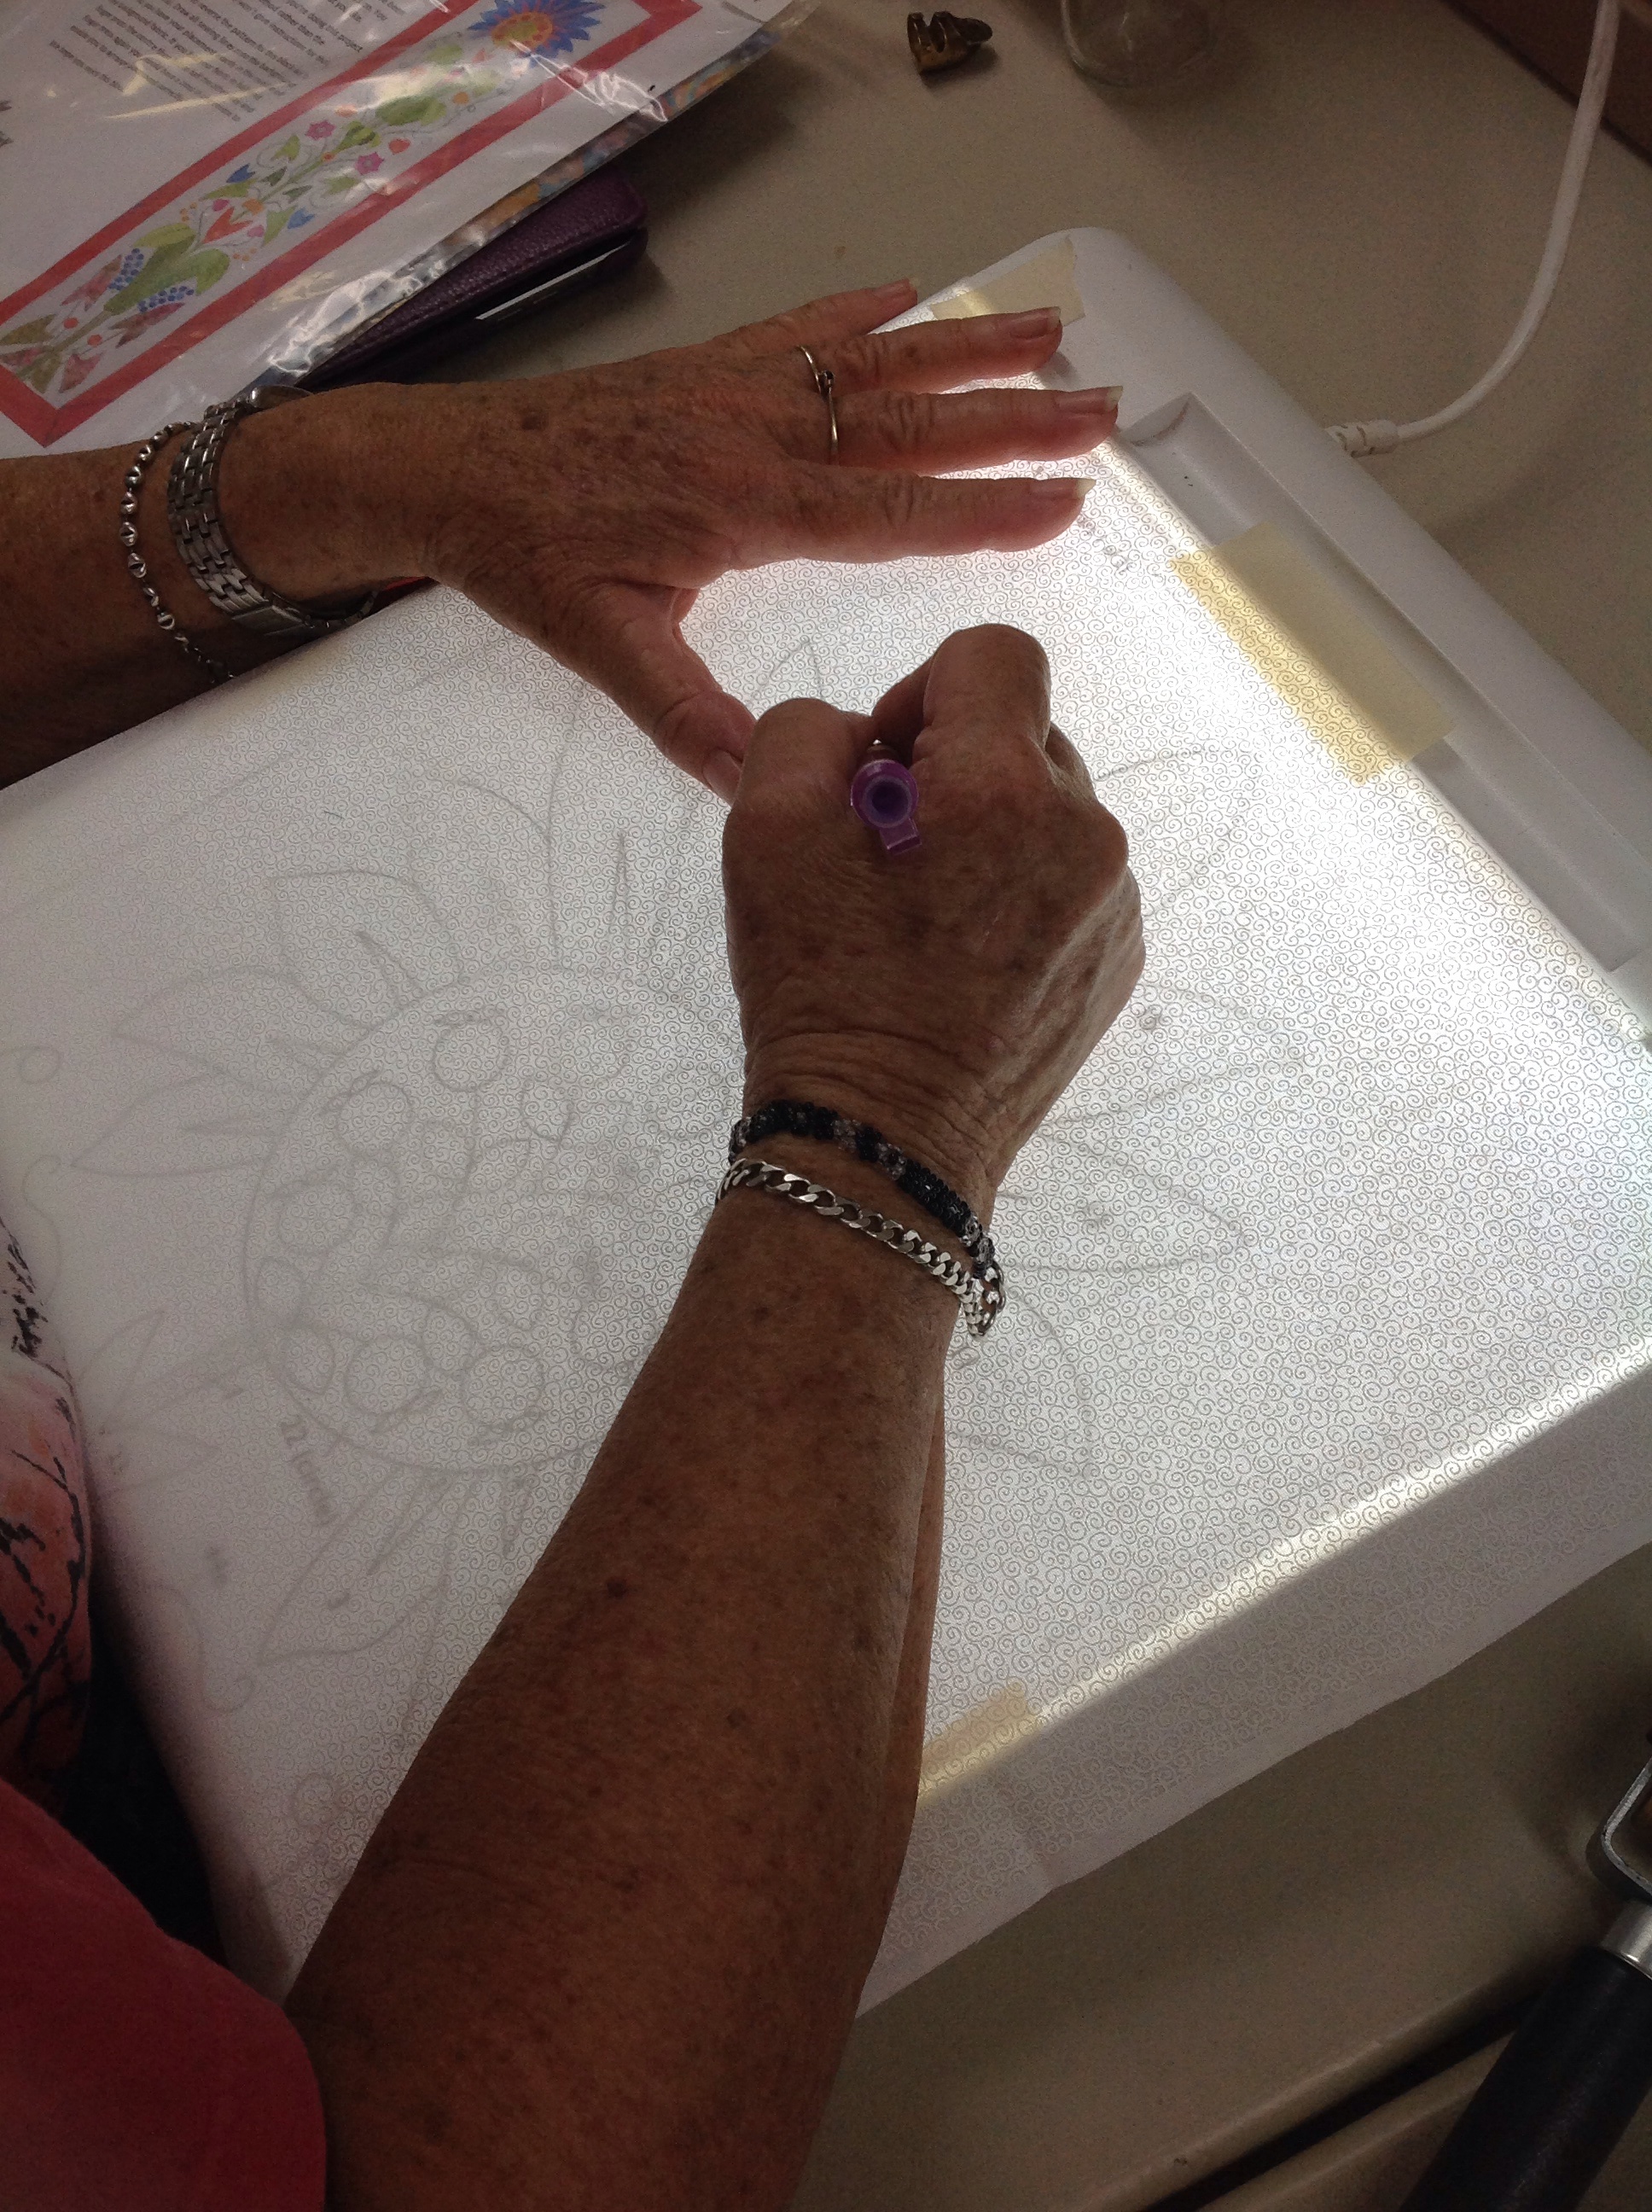
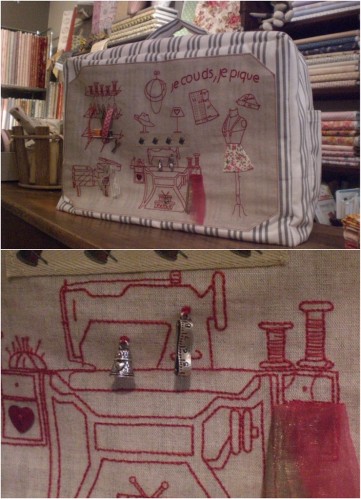
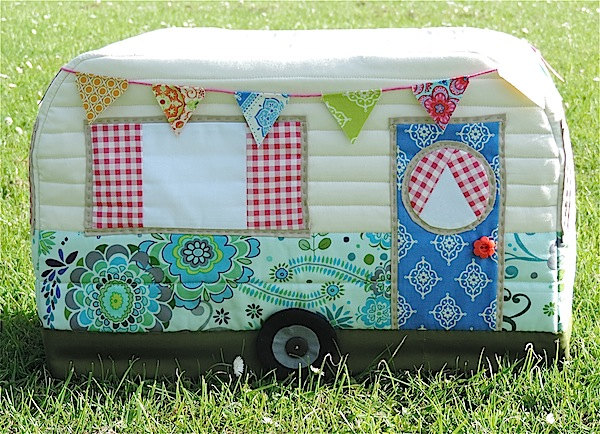
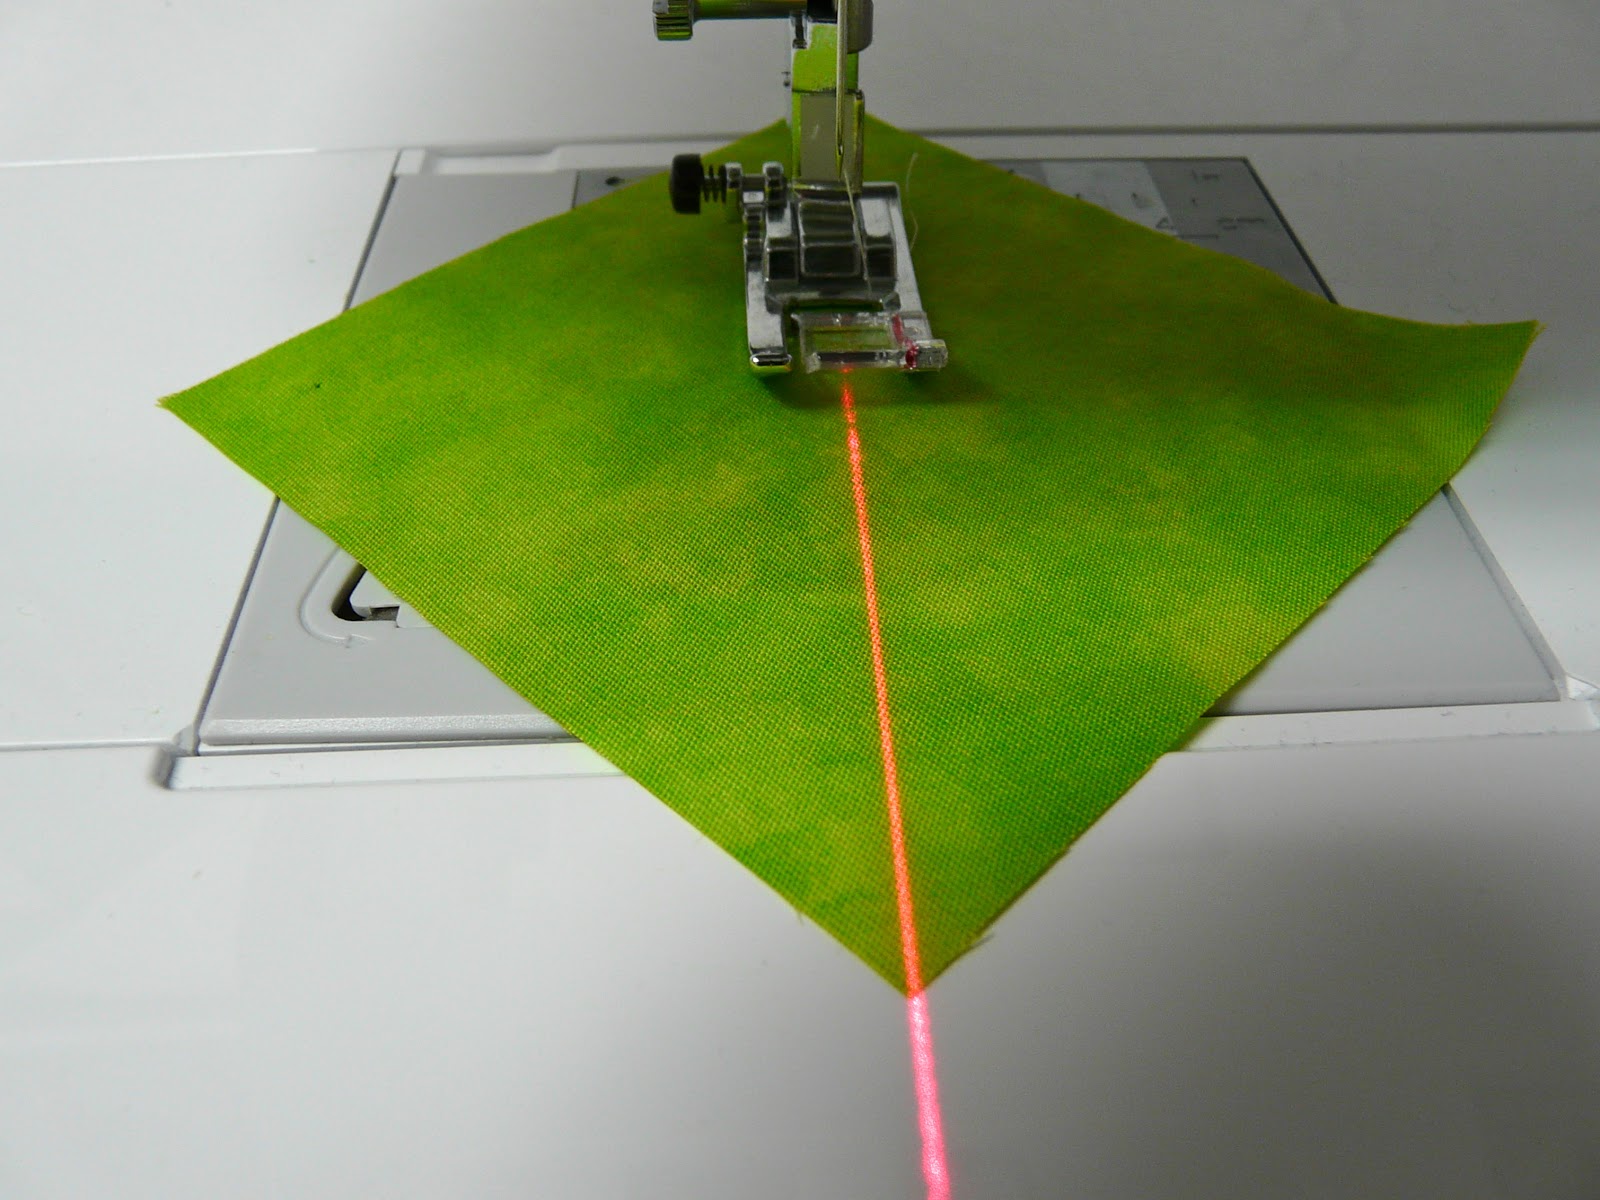
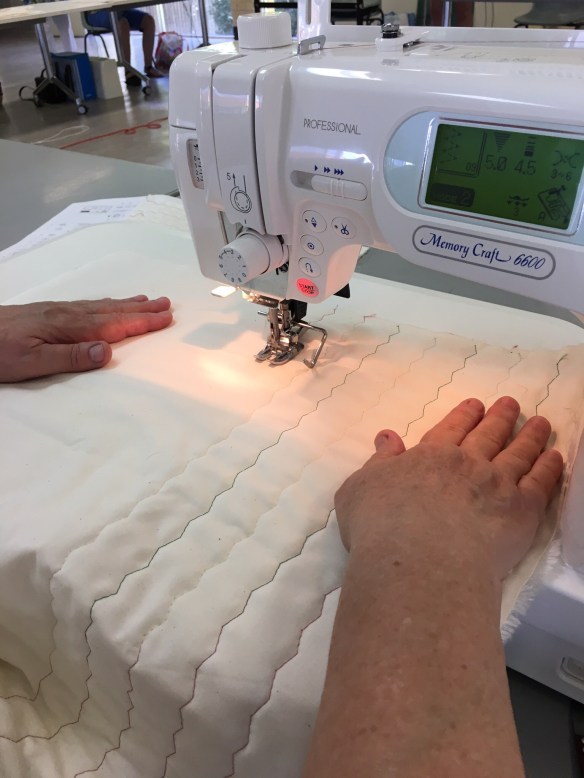
And so it was that some of the Apatcheez gathered together in the humidity of the subtropical world last Saturday to learn from the wise. The very clever Gail McMahon took the girls through their paces while they marvelled as she revealed switches that created decorative details and knobs, previously hidden to the operator, that produced the most marvellous stitches. The project was a rather attractive bag and another day is needed for anyone to actually finish one, such was the intricacy of the design (or was that because of the ignorance of the operators?). Nevertheless the ladies enjoyed the day (apart from the heat which was not very conducive to learning as more than one of us noted). Wondering what it was like? Here’s some pictures..

image


image

image

image

image

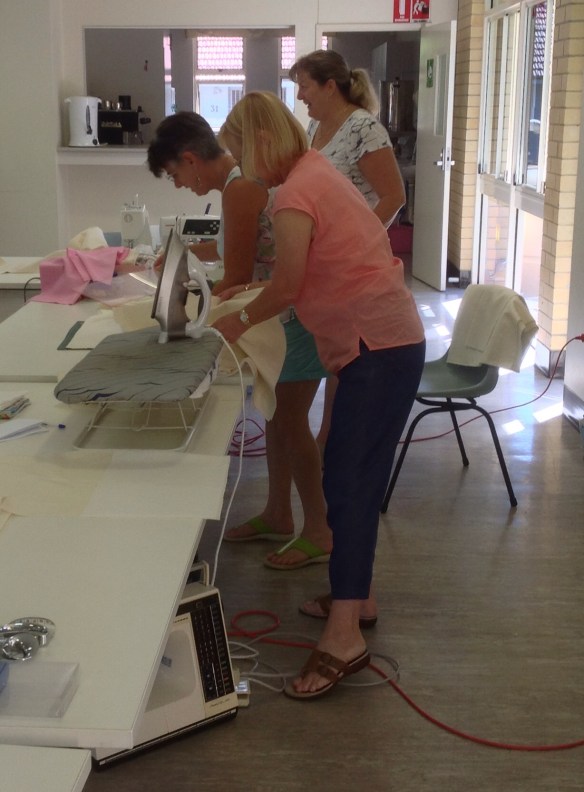
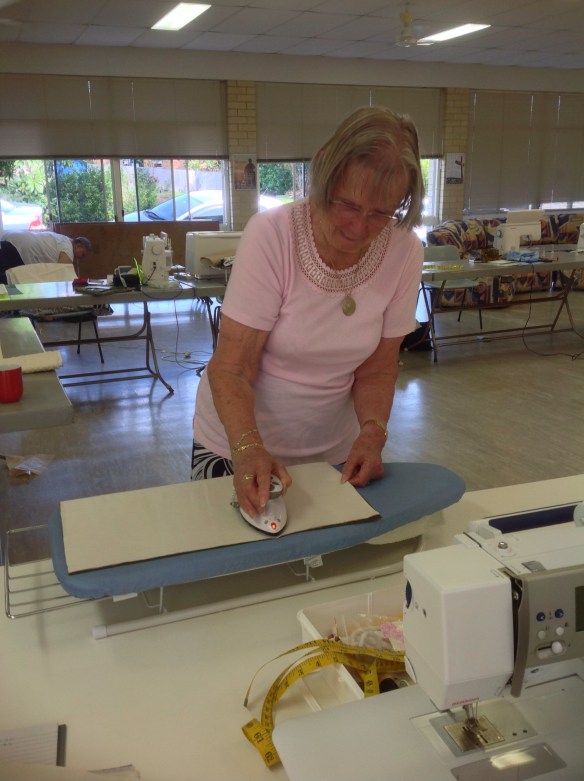
It was a very serious business as you can see. I blame Isaac Singer.

Until next week

Happy quilting

Kaye

Damn that 1/4″ seam!

As we batten down the hatches here in south east Queensland and wait for a cyclone to hit us, I got to thinking about the elusive 1/4″ seam, as you do when disaster’s imminent. An integral factor in achieving success in quilting, why is it so difficult to attain?

Sure there are some people who can ‘eyeball’ this width and zoom through seams with their machines set on warp speed, ending up with perfectly spaced sewing. Now these people probably have minimalist houses, all the clothes in their wardrobes actually fit them and they wouldn’t even know about the junk drawer with the dried-up super glue and Australia Day cake toppers – the ones you bought because they were 50% off just after Australia Day that might come in handy next year even though you’ve never yet made a cake for Australia Day and aren’t likely to in the future.

For those of us in the real world the 1/4″ seam seems to be a easy concept but is difficult to achieve. When I was learning to quilt I wondered if it was actually the ‘nirvana’ of quilting – something that all quilters aspired to and that, after many, many attempts at mortal sewing, may one day be achieved as you climbed the plane of competence – but something not possible for the beginners of the sewing world.

And don’t even start with the theory of the ‘scant 1/4″ seam’ or I’ll have to slap you.

Now I admit I do still have some issues with the perfect seam. On occasion I have come to the end of a seam, focused on the next step and zoomed through the last couple of inches at an acute angle as unlike the perfect seam as is possible. Being an impatient person I have sometimes left these imperfections in my work and feel that they serve two purposes – one I get to cross another project off the list and go on to the thrill of starting a new one; and secondly they become a lesson for the beginners of the group as to what will happen if they don’t do what I tell them and be very careful and precise with their sewing – a classic case of ‘do what I say not what I do’ syndrome.

Over the years I have seen many tips, tricks and products designed to help you with the 1/4″ goal. I suggest you give them all a go until you find what works. Here’s what I use:

  1. There are lots of rulers out there. Make use of them. Just know that some of them try to mess with your mind because they aren’t as exact as you might think. If you can’t have them professionally calibrated by a team of engineers, then at least compare them to make sure you’re not starting off on the wrong foot. image
  2. My machine has a setting that gives you a 1/4″ seam guide. You set it and the width from the edge of the foot to the needle is 1/4″. What a  clever little vegemite my Brucey is! Have a look at the instruction book that came with your machine and you could have the same setting. If not maybe you have a special foot that is designed to do the same thing. image image
  3. If you don’t find the setting or the foot and the instruction book has disappeared as well then don’t despair. Place a ruler on the bed of your machine and carefully turn the wheel until the needle is on the 1/4″ line. Then use some masking tape or painter’s tape or better still this product called Sewing Edge to mark a guideline for where to place your fabric. I like the Sewing Edge product because it is made of vinyl so it is thick enough to actually form a barrier past which you can’t push your fabric. imageimageimage
  4. The scant 1/4″ theory is that, when you press your seam to the side, the ensuing fold will take up some of the seam allowance. So you’re on a hiding to nothing as we say here. Not really, the amount is negligible (I would even say “scant”) so just make your 1/4″ inside the line not outside and when you press the seam all should be well.
  5. Speaking of pressing many’s the time when a bit of clever pressing can help with a seam that’s a LITTLE out.
  6. The absolute sure way to attain perfect piecing is to MEASURE after EACH seam to make sure that your piece measures what it should. Then join the next piece and measure again before you continue. I make my beginners do this, not because I enjoy their tortured grimaces but because it actually works. Try it for one project. It will change your life and you might be able to retire your seam ripper – or at least put it in the junk drawer.

Tell me your secrets for perfecting the 1/4″ then have a look at this:

The Apatcheez were very clever this week. We even had three beginners – Apatchy is single-handedly trying to populate the world with quilters – what a thought, get your lighters out and sway from side to side….

imageimageimageimage


Until next time

Happy Quilting

Kaye

Top Quilting Tips – No. 6 – Pimp Your Machine

In our countdown to the start of quilting here’s tip number 6

image

OK your sewing machine has been dusted and cleaned but what about some customisation? You personalise your other possessions. Do you have those family stickers on the back windscreen of the car? Do you have the personalised address labels for your snail mail? Have you put a little dangly charm on your phone? Then what about your sewing machine?

singer

Don’t laugh – one of my customers who runs a retreat at Lake Tahoe – ooh there’s an excursion waiting to happen – tells me that all the girls buy Singer Featherweights for retreats and take them to an auto shop for a custom body spray.

image


Now down here in Oz I haven’t seen something quite so drastic but here’s my Top 5 suggestions…

1. Antenna Toppers – not the foxtail please. No sewing machines don’t actually have aerials but think outside the box and you come up with a thread holder. You will need one if you’re using special thread such as metallic or even some of our lovely Wonderfil Mirage (Intentional Product Endorsement there did you notice?).

Now I’m not talking about putting the spool of thread in a coffee cup beside your machine (just me?). What you need is a proper stand-alone spool holder.

image

I use one of these and find that it makes my sewing, especially thread painting, SEW much easier.

2.  Bumper stickers – No I’m not suggesting you cover Betsy with ‘My Other Machine is a Bernina’ or ‘Ask Me About Sewing’ – actual stickers I kid you not.

Rather than shame your machine think practical. The most practical I know are the Qtools Sewing Edge.

image

These little beauties stick to the plate on your machine to help you guide fabric towards the perfect 1/4″ seam. And don’t think it’s only beginners who can benefit from these babies. When you’re driving on into the night your eyeballing may not be what it once was.

3. Under The Bonnet – you checked your bobbins in yesterday’s task so now you need to check your needles.

dsc_0011

Working with worn or bent needles will only give you grief. We’re talking tension problems or stitches dropped or shredded. The size of the needle has to match the fabric you’re using as well as the thread. I can see we’ll have to talk more about this.

4. Covers – not seat covers or wheel covers but a cover for your machine. Let’s face it – the rigid white covers that come with the vehicle are very ho-hum. So here is your chance to really individualise your machine AND add a project to your UFO list. Create that Wow factor by making a sewing machine cover that says you. Here’s one I saw in France and I bought the kit so it’s on my list AND I’ve actually started the project.

Bureau21

Maybe you want to be practical

02f3d91cdad419e6e0bf386c068a566a

or maybe a little more whimsical

il_fullxfull.595505712_aqiz

Here’s your chance to make a cover that says you. It can be retro, modern, bright, neutral – whatever tales your fancy. In true how-do-I-look style you can chang your ride from a fashion victim to a fashionista.

 5. Lights – so your car might have headlights, tail lights, fog lights, bumper lights and brake lights. What makes you think you don’t need to see as clearly when you’re accelerating through a section of chain stitching or a particularly tricky foundation pieced project?

You don’t necessarily need a miner’s light but hey – if it works:

Maybe a laser light (say what?):

Try to use ambient and task lighting with some magnification if you need it. Daylight light is best (you can buy bulbs with this feature – we have them in the classroom – who knew?). We don’t want you to end up with eye strain so watch those peepers.

Until tomorrow

Happy Quilting

Kaye

Missed some of the series – click on the links here to take you back

maxresdefault keep-calm-and-countdown-8-days-to-go 7segment_intro_pview